
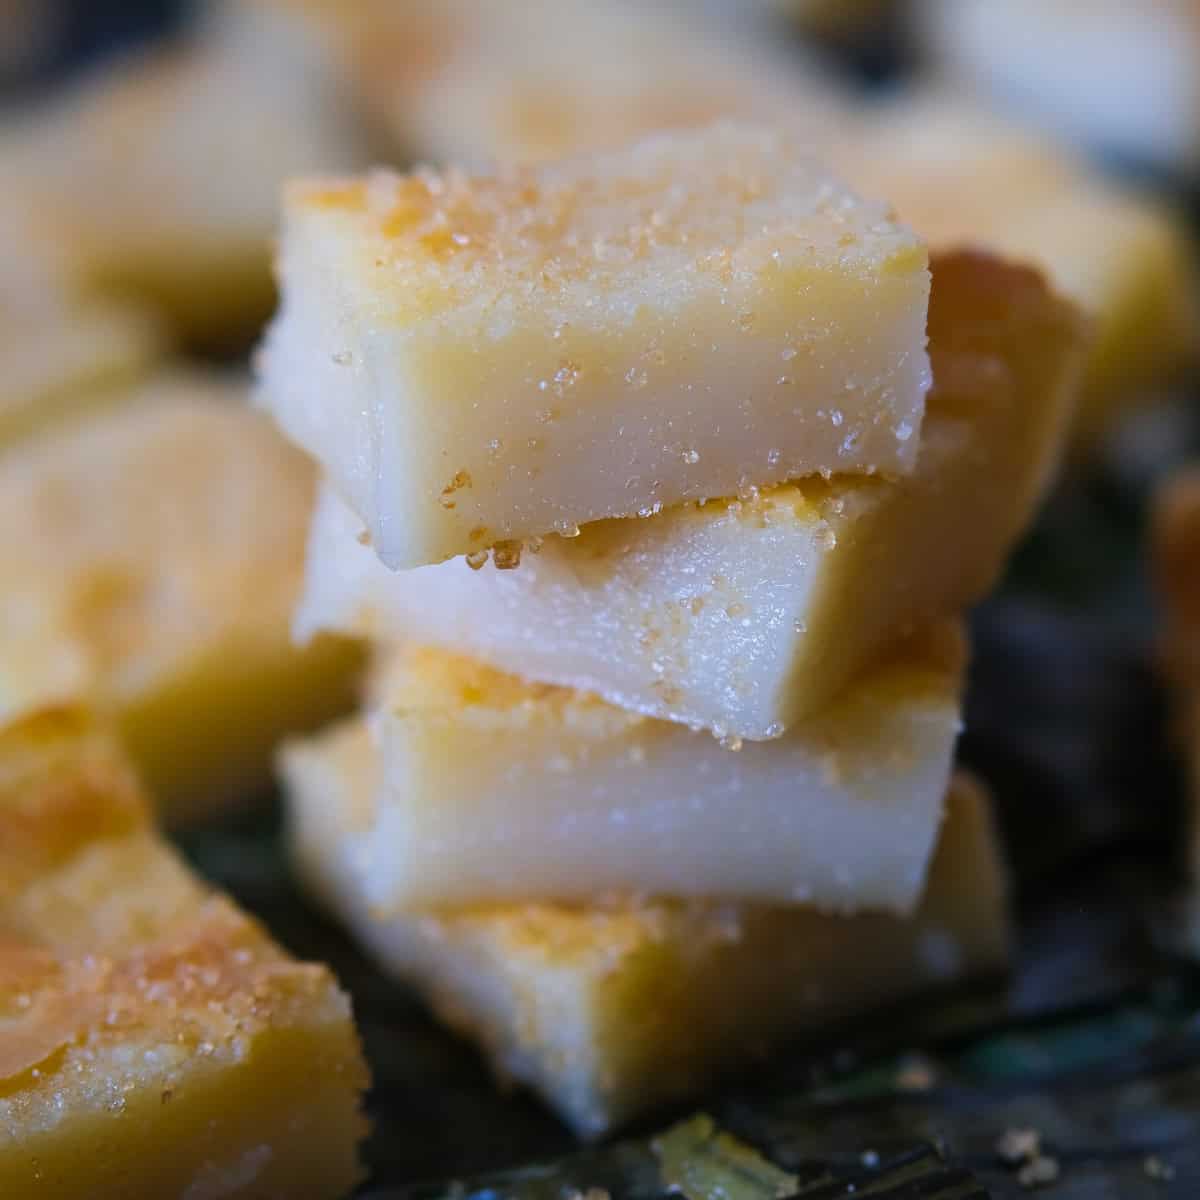
These bibingka bites have been an intrinsic part of growing up with a Filipino mother. With their sticky, chewy texture and sweet buttery flavor that melts on your tongue, they deliver the kind of sweet satisfaction that only a Filipino dessert can achieve.
We would always have these rice cakes at family gatherings, where they were my Aunt Cecil's signature dish. For years, my sister and I tried to get the recipe from her, but she had no written recipe! She just measured ingredients by "feeling" - oh dear. So after years of trial and error, we cracked her recipe, and I added some of my personal touches to it - which I think make it even better.
Not Your Typical Bibingka Recipe
I found plenty of bibingka recipes online, but they were different from our family recipe. My mom's family is from San Carlos City, Pangasinan, where they lived until the 1970s when my mother and her siblings moved to London, so this might be a regional variation.
This recipe is made without coconut and without eggs. It has a deliciously chewy texture with a slightly crunchy, caramelized top. If you ask me, this is the best bibingka recipe! (Of course, it's my family's recipe, so I am a little biased.) So let's try my homemade bibingka recipe!
Ingredients You'll need
For the detailed instructions and exact measurements, please jump to the printable recipe card
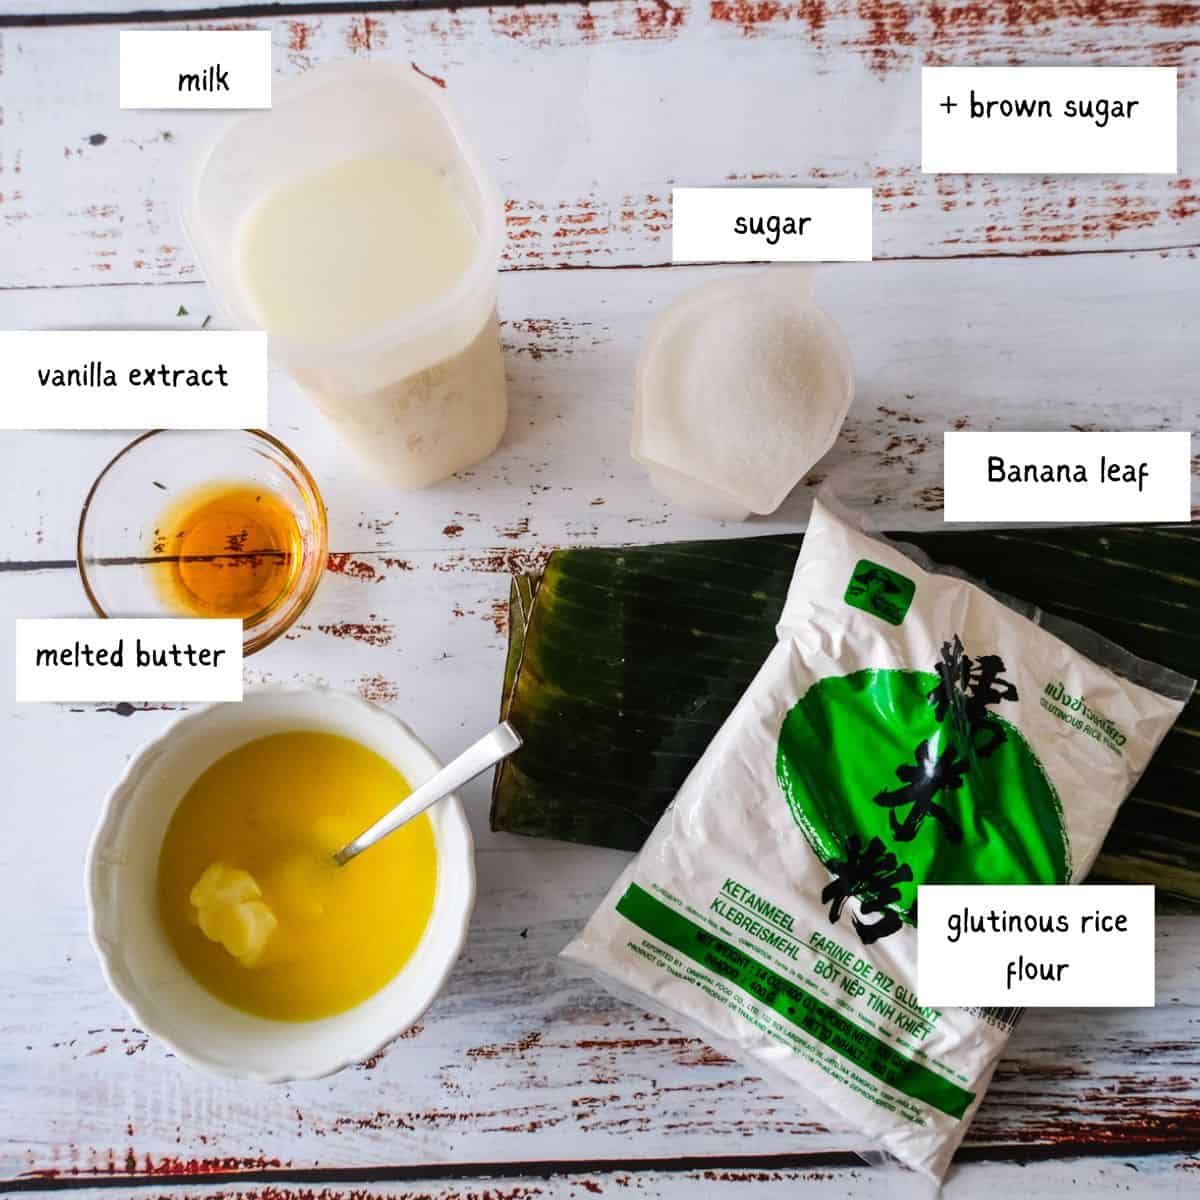
This is a simple recipe with just a few ingredients. Glutinous rice flour is easily found at any Asian supermarket. The banana leaves are optional, but they add an extra glorious, fragrant aroma to the cake. You'll find them in the freezer section of the asian supermarket, and they keep for a long time.
For the bibingka batter, you'll need glutinous rice flour, sugar, vanilla extract (affiliate link), and melted butter. The optional ingredient that I believe makes all the difference is a large banana leaf to line your baking tray with. When baking the rice cake on the banana leaf, the cake absorbs the deliciously smoky banana flavor, giving it a deep, exotic taste.
The second ingredient adaptation I borrowed from my cousin Michelle's bibingka recipe is sprinkling brown sugar on top just 10 minutes before the cake is ready. This gives the bibingka a beautiful caramelized crunch that perfectly contrasts the soft, chewy interior.
How to make Bibingka
All you'll need is a large bowl, a wooden spoon, and a baking pan. Mine was 8" x 8" (20 x20 cm). The bibingka is cooked in a standard oven.
Want to save this recipe?
- PREPARATION: Preheat oven to 180°C (350°F) and melt the butter.
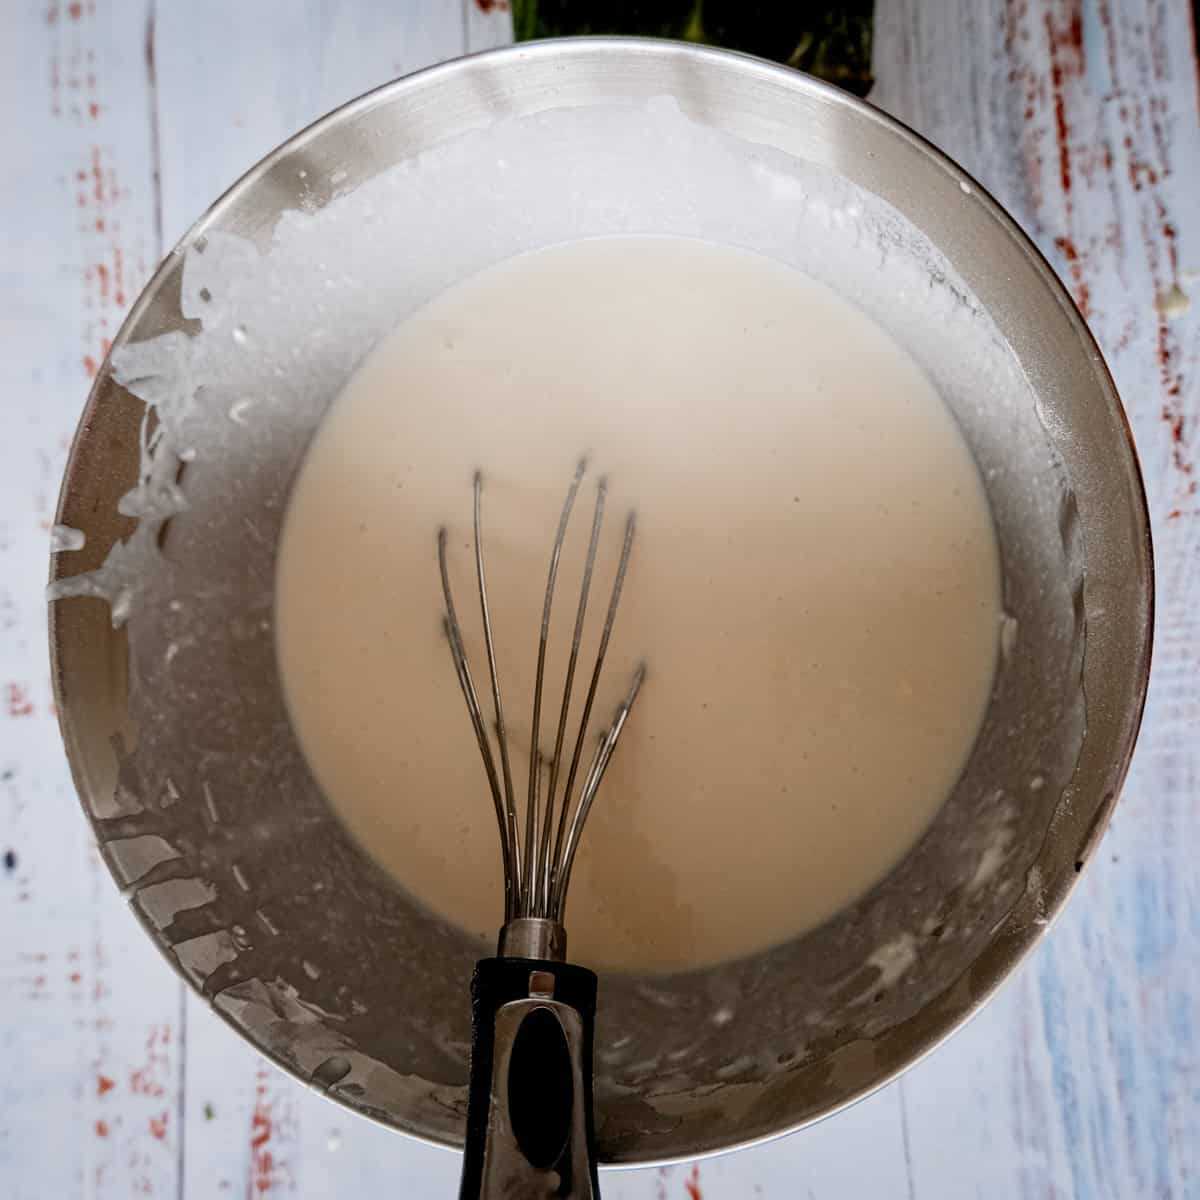
2. MAKING THE BATTER: Combine glutinous rice flour and sugar in a large bowl. Mix in ¾ of the melted butter, vanilla extract (affiliate link), and milk until smooth.
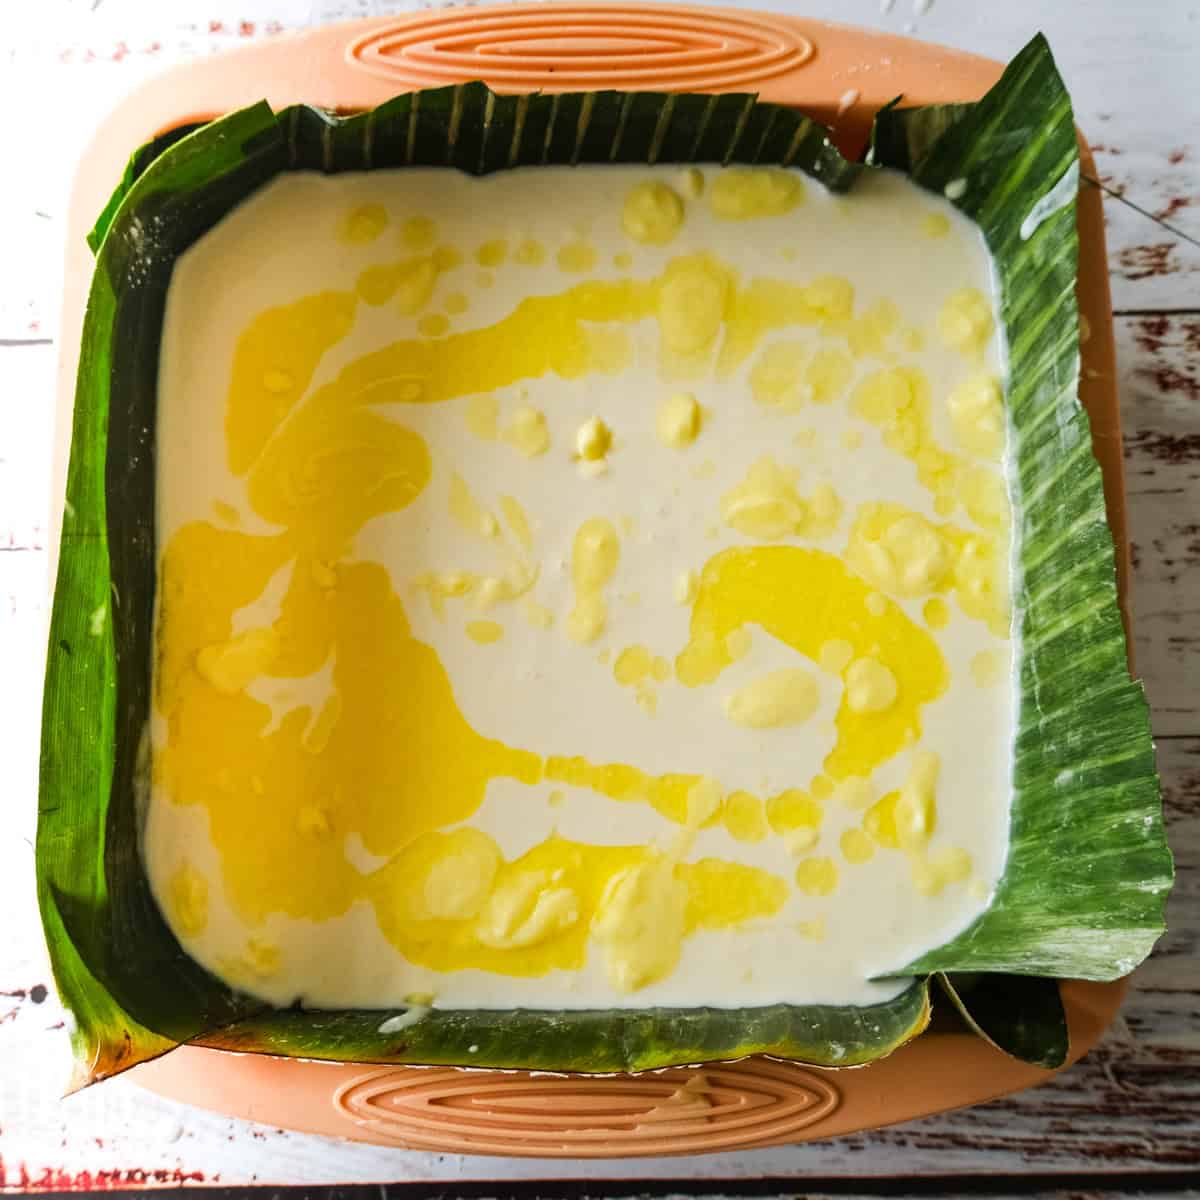
3. BAKING & FINISHING: Line tin with banana leaf (or grease with butter), pour in batter, and top with remaining butter. Bake for 35 minutes, optionally adding brown sugar after 10 minutes for caramelization. Cool completely before slicing into bite-sized pieces.
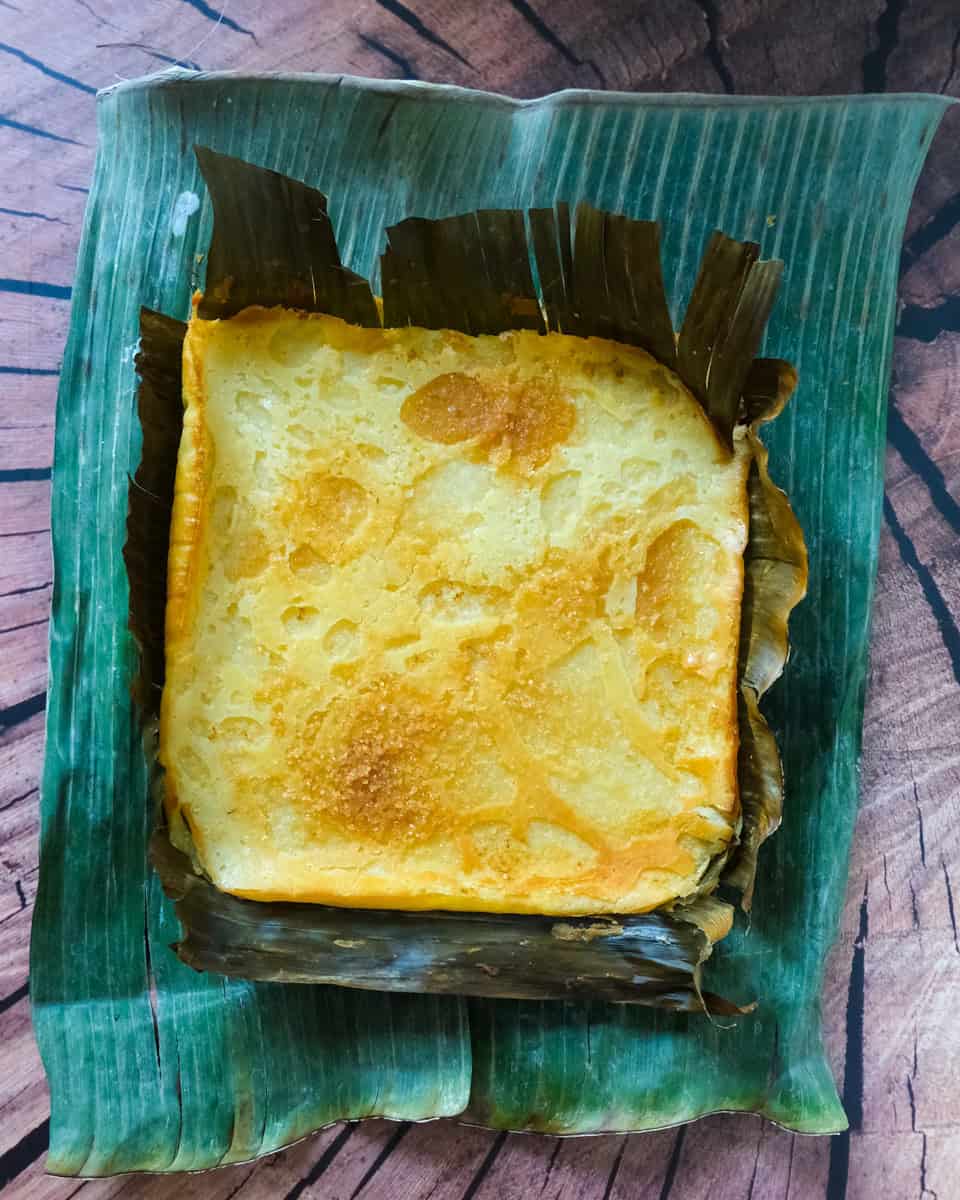
How to serve these glutinous rice cakes
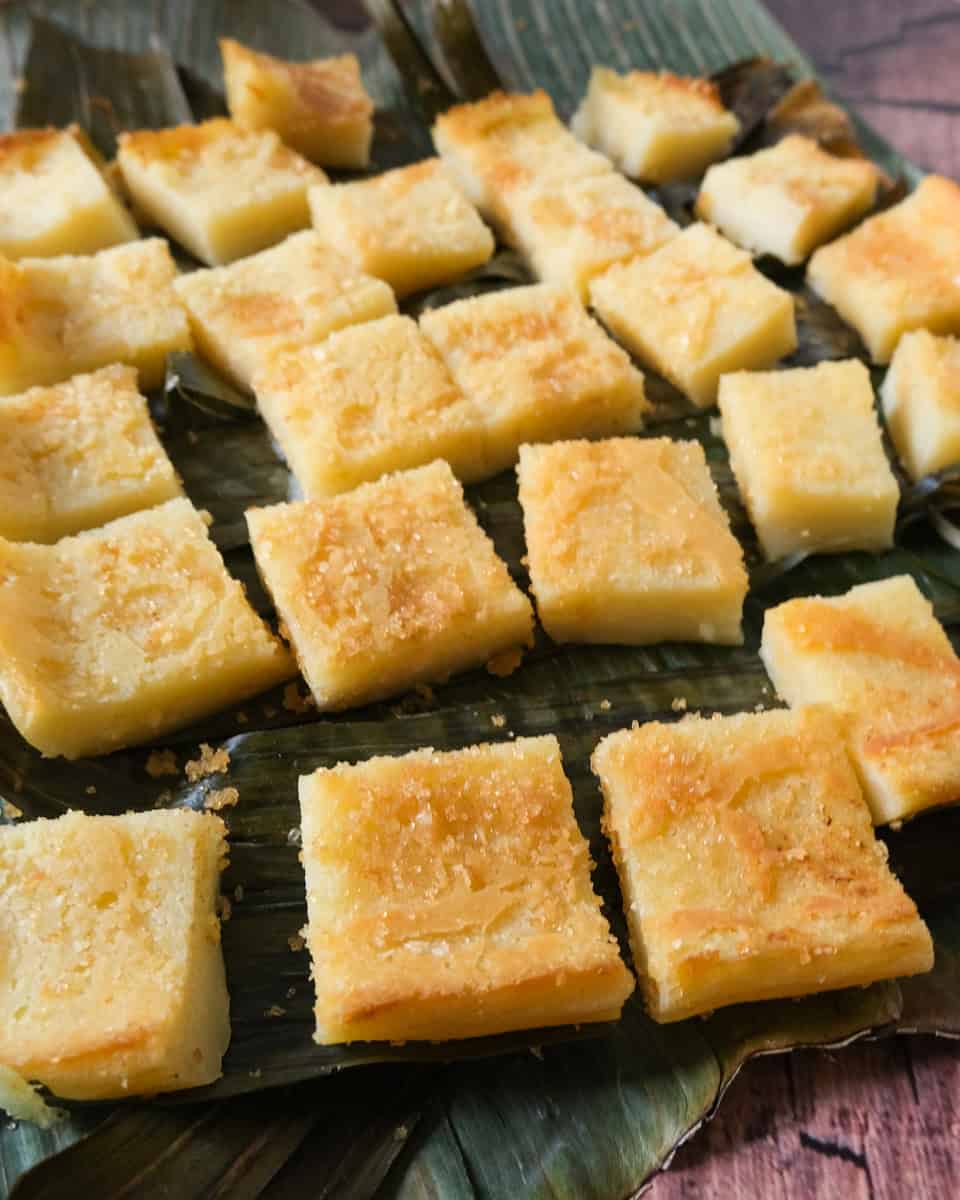
My aunt slices this slab of sticky-sweet rice cake into bite-sized squares (yes, she uses scissors for this!) and then arranges them on a plate. If you have any banana leaves leftover, use them as a plate for an exotic flair.
Keep Them Perfectly Chewy: Storage Tips
These cakes are perfect to make two days ahead. Simply place them in an airtight container and store at room temperature. Do not store them in the fridge as they lose their chewiness and become brittle and hard. Baked bibingka cakes stay good for up to three days.
Have you made this recipe?
Your feedback makes a difference to fellow readers. Rate this recipe and drop a comment below to help others enjoy it too.
Recipe

Easy Bibingka Recipe- Filipino Rice Cakes (no eggs no coconut)
Equipment
- small cake tin 8" x 8"/ 20 x 20 cm
Ingredients
- 125 g (½ cups) butter melted
- 450 g (2.5 cups) glutinous rice flour
- 200 g (1 cups) granulated sugar
- 250 ml (1 cups) milk
- 1 teaspoon vanilla extract
For the pan
- 1 Banana leaf
For the top
- 1 tablespoon brown sugar
Instructions
- Preheat your oven to 180°C (350°F).
- Melt the butter in the microwave or in a saucepan.125 g butter
- In a large bowl, combine the glutinous rice flour and sugar.450 g glutinous rice flour, 200 g granulated sugar
- Stir in ¾ of the melted butter, vanilla extract (affiliate link), and milk. Mix with a wooden spoon until you achieve a smooth batter without any lumps.250 ml milk, 1 tsp vanilla extract (affiliate link)
- Line your baking tin with the banana leaf if using (I recommend it for an incredible flavor boost). Alternatively, you can grease your tin with more butter.1 Banana leaf
- Pour the batter into the tin. Before placing the tin in the oven, pour the remaining butter on top. This will help give it a nice crunchy top.
- Optional: After 10 minutes of baking, sprinkle a tablespoon of brown sugar on top, which will give the cake an additional caramelized boost.1 tbsp brown sugar
- Bake for 35 minutes, then let it cool completely. Once cooled, you can slice it into bite-sized pieces before serving (my aunt uses a pair of scissors for this!).
Want to save this recipe?
Nutrition
 Made this recipe?Drop a ⭐ rating and a quick comment below. I personally read and reply to every review!


Lisa says
Simply delicious, and very easy to make after a trip to the Asian store. I honestly can’t stop eating them!! I am using a little less sugar but otherwise these turn out great every time.
Ginger says
They look amazing!